Impact DashBoard Knowledge Base
Data Forms
Impact DashBoard includes a flexible data request/collection feature that allows economic development organizations to create, share, and collect ED Project data forms or applications.
Create a Data Form
Within the Data Forms section of Impact DashBoard, you can create a Data Form Template and select questions to be included on your unique electronic Data Form. The Data Form will include your branding and custom instructions for prospects completing the data form.
Share a Data Form
You can share a Data Form with a specific prospect via email or obtain a web address that can be posted on your website to collect economic development project information.
Collect, Summarize, and Analyze ED Project Data
After a prospect has submitted a Data Form, you can generate reports with this information and prepare an economic development impact analysis.
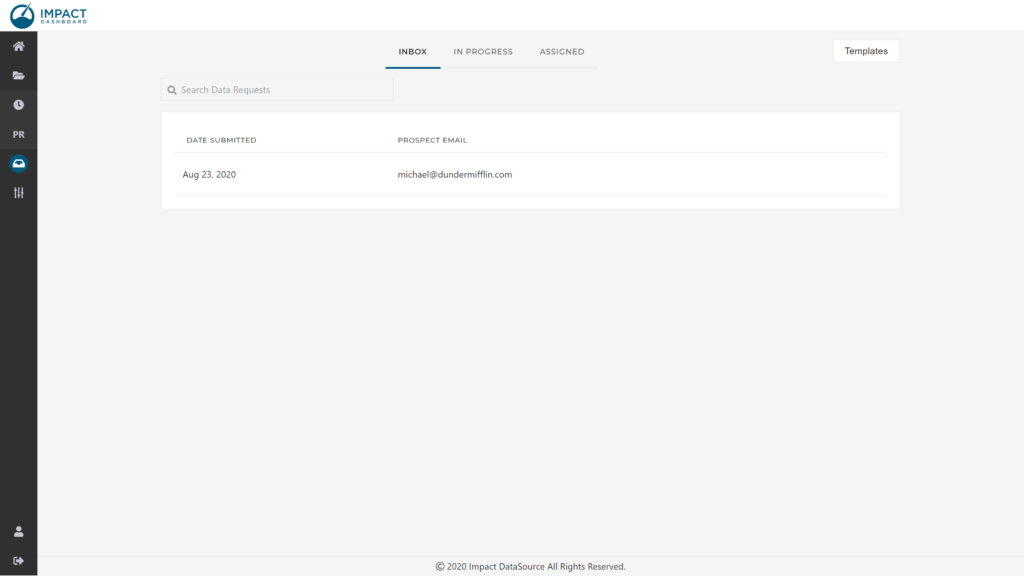
Inbox
The Inbox page of the Data Forms section shows a list of submitted Data Forms. Submitted Data Forms are identified by the date it was submitted and the email address of the individual submitting the Data Form.
View a Submitted Data Form
To view the submitted Data Form, click on the row corresponding to the Data Form. A submitted Data Form can be printed from this page.
Assign to Project
To assign a submitted Data Form to a Project, click on Assign to Project (box arrow icon). You will have the opportunity to create a new project for the Data Form or assign the Data Form to an existing project. In the process, you will be able to indicate if you would like to create a Scenario using the Data Form.
If you choose to assign the Data Form to an existing Project, you will be presented with a modal that includes a dropdown of all existing Projects.
If you choose to create a new project for the Data Form, you will be asked to specify a name of the new Project.
Delete a Submitted Data Form
To delete a submitted Data Form, click on Delete (trash icon). You will be asked to confirm the deletion. The Data Form and all of its content will be permanently deleted and cannot be undone.
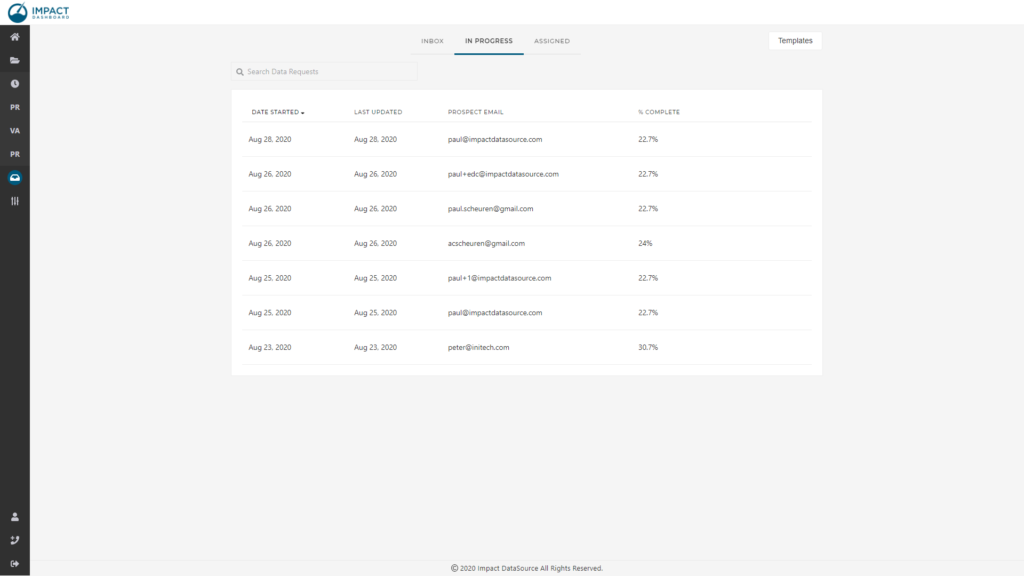
In Progress
The In Progress page of the Data Forms section shows a list of Data Forms that have been started but have not been submitted. In-progress Data Forms are identified by the date it was started, the date it was last updated, the email address of the individual completing the Data Form, and the percent completed.
The list of In Progress Data Forms will show all Data Forms started but not submitted. You can share the unique link of the in-progress Data Form with a prospect who may have lost the link prior to submitting their Data Form.
View an In-Progress Data Form
To view an in-progress Data Form, click on the row corresponding to the Data Form on the In Progress page.
Share
To email or obtain the direct link to an in-progress Data Form, click on Share (arrow icon). You will have the opportunity to send an email to the prospect or simply copy the link to share directly with the prospect.
Delete an In-Progress Data Form
To delete an in-progress Data Form, click on Delete (trash icon). You will be asked to confirm the deletion. The Data Form and all of its content will be permanently deleted and cannot be undone.
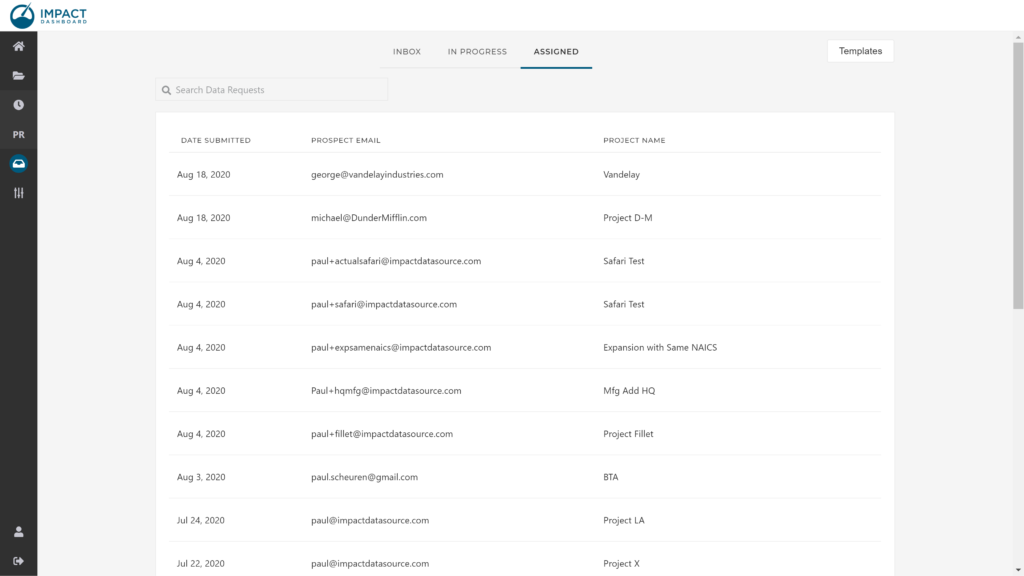
Assigned
The Assigned page of the Data Forms section shows a list of Data Forms that have been assigned to a Project. Assigned Data Forms are identified by the date it was submitted, the email address of the individual submitting the Data Form, and the Project Name to which the Data Form was assigned.
The list of Assigned Data Forms will show all Data Forms assigned to a Project.
View an Assigned Data Form
To view an assigned Data Form, click on the row corresponding to the Data Form on the Assigned page.
Go to Project
To navigate to the Project to which the Data Form is assigned, click on Go to Project (arrow icon).
Template List
The Templates page of the Data Forms section shows, by Tile or List, the Data Form Templates you have created. You can configure a Data Form Template of relevant economic development project and company inputs, preview the data form, and share it with individual prospects or the public via your own website.
To configure or preview a Data Form Template, click on the name of the Template.
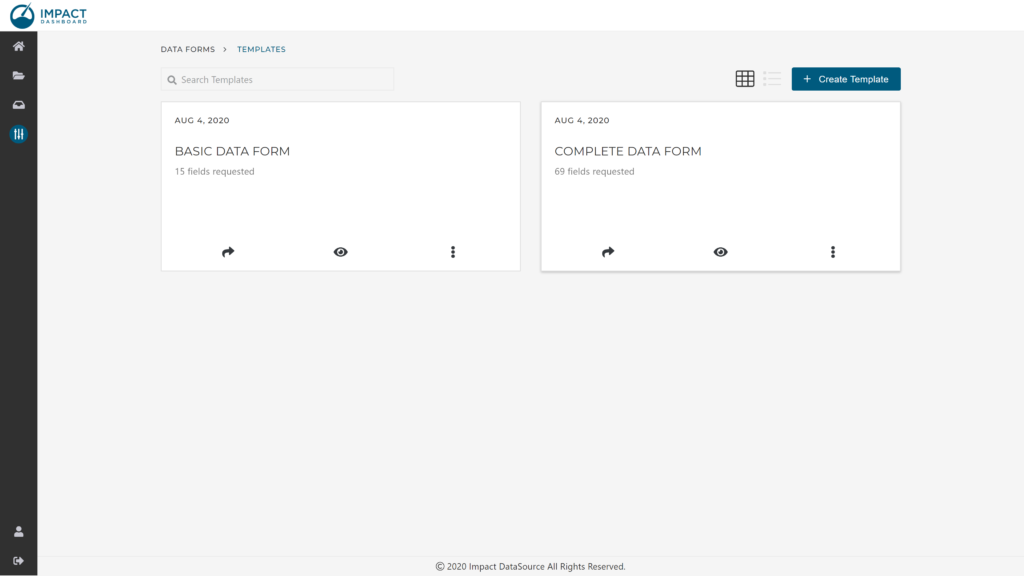
Your Impact DashBoard account will be seeded with two Data Form Templates – a short basic version and a full comprehensive version. You can copy, edit, or delete these Templates.
From the Data Forms Templates page, you can share, preview, rename, copy or delete an individual Template.
Share a Template
To share a Template, click on Share (arrow icon) on the Template tile or Template row associated with the Template. Clicking on Share will allow you send an email or obtain a web address to share with prospects to complete the Data Form.
Preview a Template
To preview a Template, click on Preview (eye icon) on the Template tile or Template row associated with the Template. Clicking on Preview will allow you to see a one-page preview or to preview the wizard as your prospect will view the Data Form.
Rename a Template
To rename a Template, click on the three dots icon on the Template tile or Template row associated with the Template. Clicking on Rename will allow you to modify the name of the Template.
Copy a Template
To copy a Template, click on the three dots icon on the Template tile or Template row associated with the Template. Clicking on Copy will create a copy of the Template for you to modify as desired.
Delete a Template
To delete a Template, click on the three dots icon on the Template Tile or Template row associated with the Template. Clicking on Delete will delete the Template and remove it from the Templates page.
Configure Data Form Template
You can configure a Template by clicking on the Template name from the Data Form Templates page.
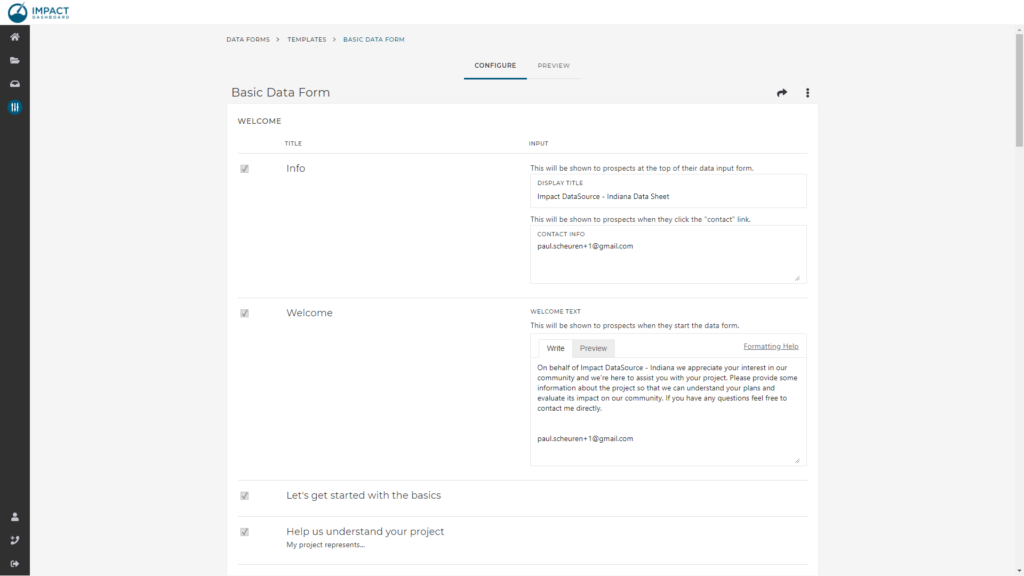
The Configure page shows the specifications for the Data Form Template. On this page, you can choose which fields will be presented to prospects and modify various text fields.
Display Title
A custom title can be entered in the Display Title section of the Configure Template page. The Display Title will be shown to prospects at the top of the data form. Economic development organizations use a variety of terms for this type of form – some might use the term “Economic Development Data Sheet”, “Incentive Application”, or “Project Survey”.

Contact Info
Custom contact information can be specified and will be displayed to the prospect on the Data Form Wizard. This contact information should be the point of contact if the prospect has questions while completing the Data Form.
Welcome
A custom welcome message can be entered in the Welcome section of the Configure Template page. We recommend something like:
On behalf of our organization, we appreciate your interest in our community and we’re here to assist you with your project. Please provide some information about the project so that we can understand your plans and evaluate its impact on our community. If you have any questions feel free to contact me directly.
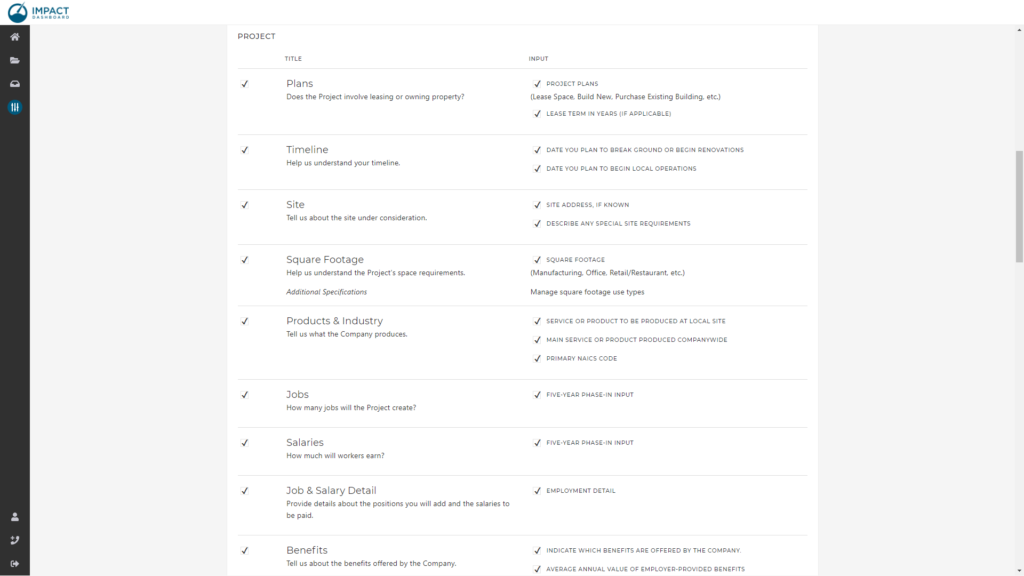
Project Info
The Project Info section of the Configure Template page has numerous inputs relating to the economic development project. The full list of inputs is available here. xlinkx
Supporting Details
The Supporting Details section of the Configure Template page has two general purpose inputs that you can customize for your purposes.
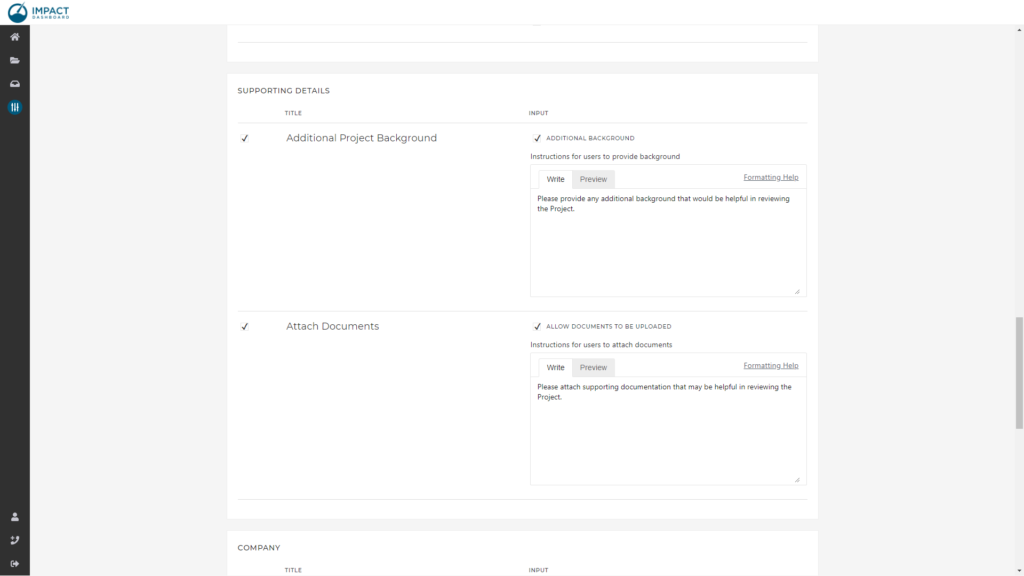
The Additional Background input is a simple text area prospects can write additional information about the project. You might ask the prospect to
- answer additional questions,
- provide a written project description,
- describe the incentive requested, or
- provide any additional background that would be helpful in reviewing the project.
The Attach Documents input allows you to request specific documents or any supporting documentation that may be helpful in reviewing the project. Prospects can upload multiple files of any type.
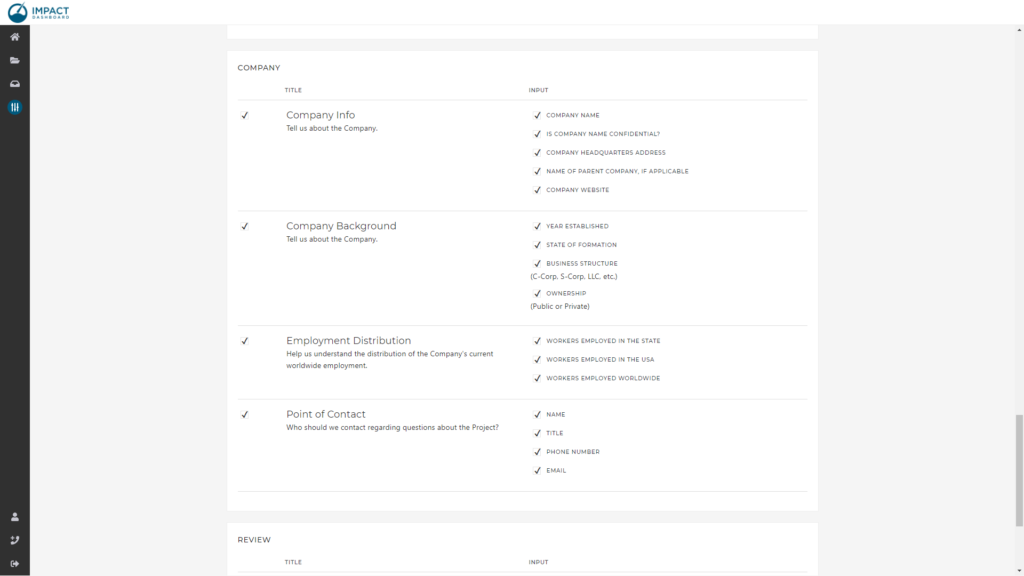
Company Info
The Company Info section of the Configure Template page has numerous inputs relating to the company behind the economic development project. The full list of inputs is available here. xlinkx
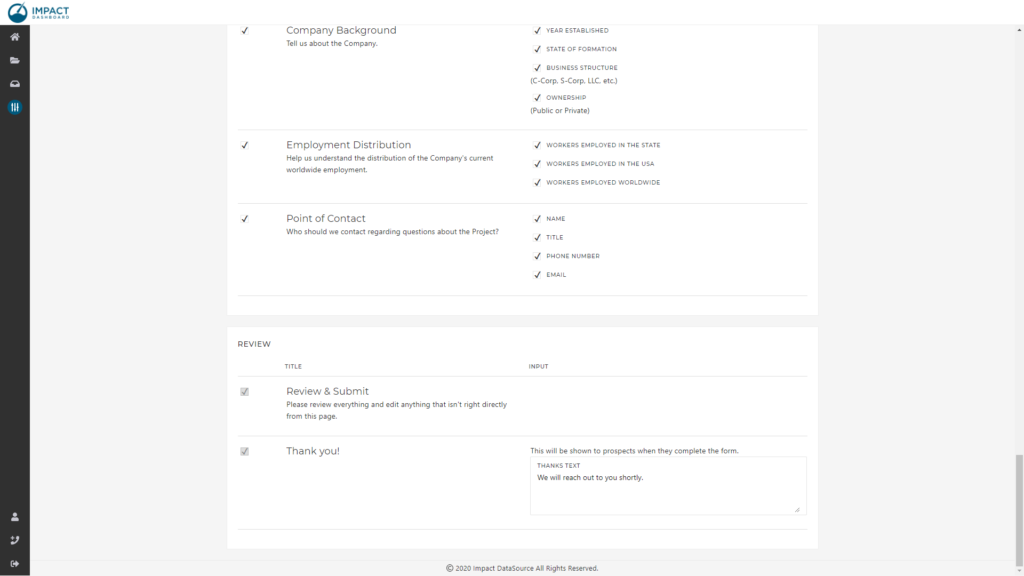
Thank You Message
A custom thank you message can be entered in the Thank You section of the Configure Template page. We recommend something like:
We will reach out to you shortly.
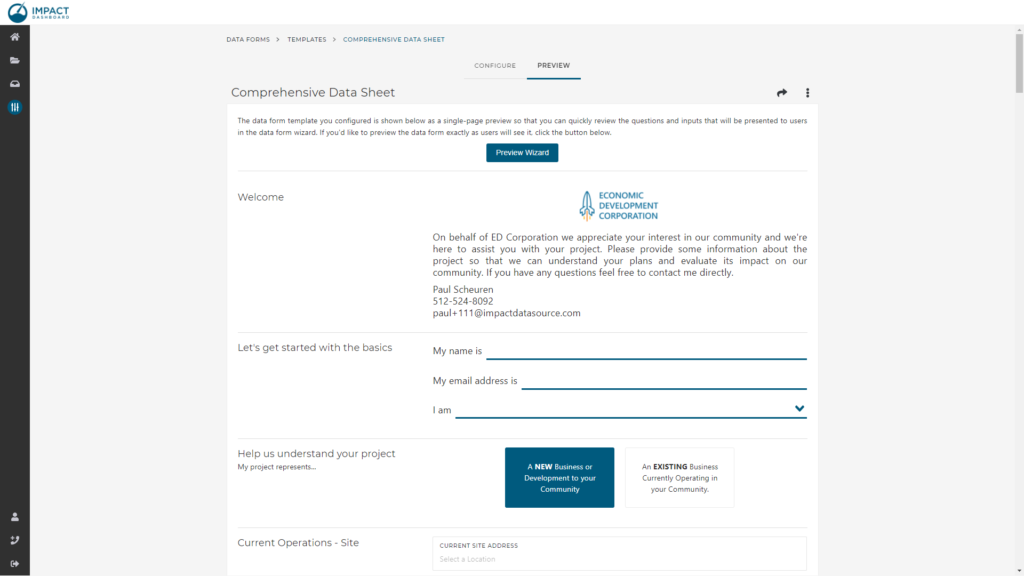
Preview Data Form Template
You can preview a Template by clicking on Preview from the Data Form Templates page.
From the Preview Template page, you can see a one-page Preview of the Template. The one-page Preview shows the inputs and language as it will appear to the prospect but it is important to remember that the prospect will actually interact with the Data Form via the Data Form Wizard.
Click on the Preview Wizard button to walk through the Data Form Wizard exactly as the prospect will see it.
Sharing
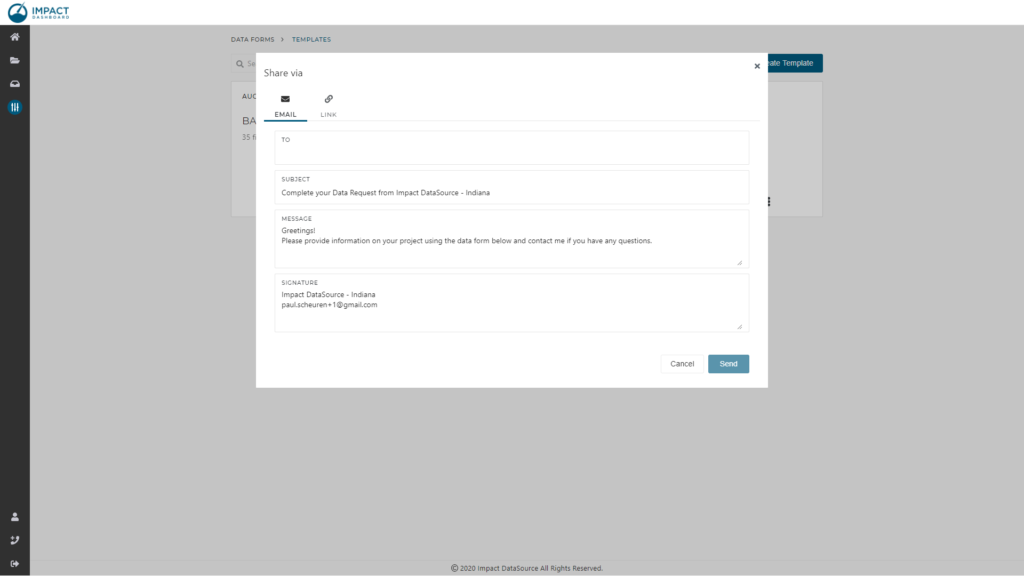
Data Form Templates can be shared with prospects two different ways. First, you can send an email to a prospect directly from Impact DashBoard by clicking Share and then completing email form. Alternatively, you can obtain a link to the Data Form Template that can be put on your website to collect information from prospects.
To share a Data Form Template by email, click on Share and choose email. Complete the email template. Enter the prospect’s email address, adjust the subject, message, and email signature, then click send. When you click send, an email will be sent to the prospect and the Impact DashBoard point of contact will be copied on the message. The email will include a button for the prospect to access the Data Form.
Link
To obtain a link to post elsewhere, click on Share and choose Link. To copy the text, click Copy to Clipboard.
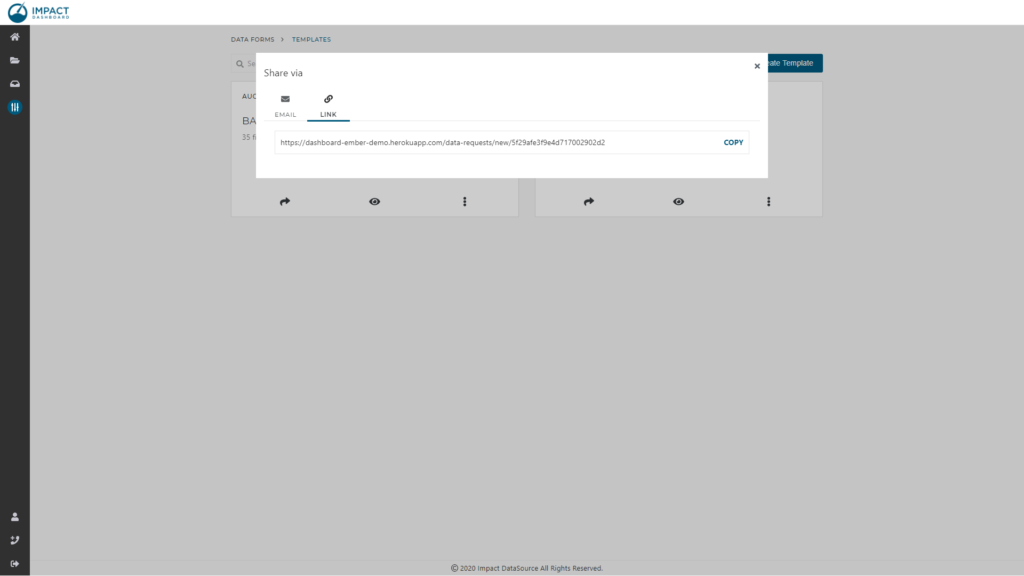
Universal Link
If you click on Share on a Data Form Template, you will get a universal link that will generate a new instance of the data form every time it is clicked. This “universal” link is appropriate to post on your website or in your email signature.
Unique Link
If you click on Share on an in-progress Data Form, you will get a unique link that will take you directly the in-progress Data Form as it was last saved.
Read more about the Data Form Wizard to understand how prospects will save and return to in-progress Data Forms here.