Impact DashBoard Knowledge Base
Preview a Data Form
After you configure a Data Form Template, you have two ways to preview the data form.
- Single-Page Preview
- Wizard Preview
1. Single-Page Preview
To access the Single-Page Preview, click on Preview (eye icon) on Template page associated with the Template tile or row you wish to preview. If you are on the Configure page of the Data Form Template, you can simply click on the Preview menu item at the top of the page.
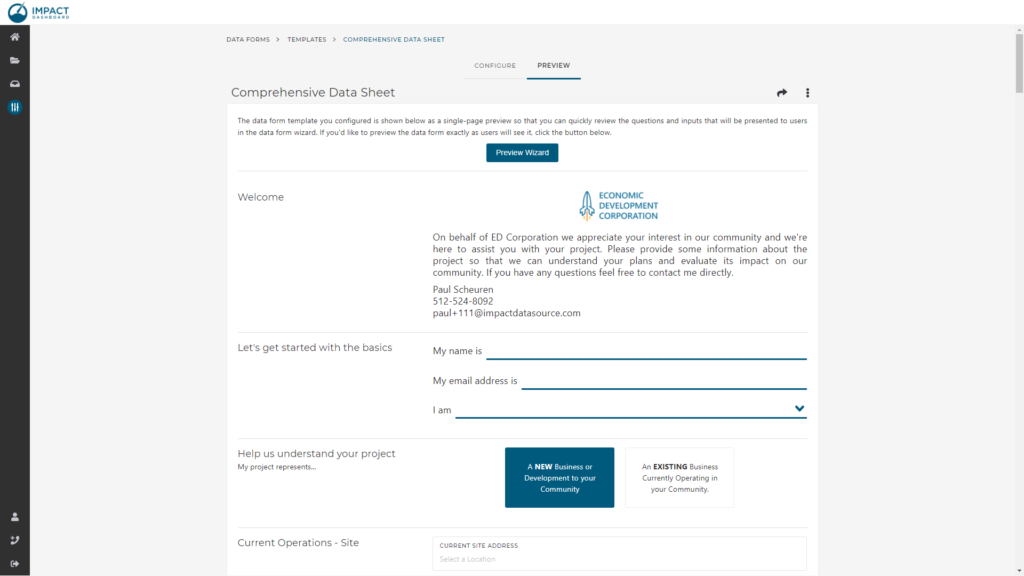
The Single-Page Preview will show you each page of the Data Form Wizard to be presented to the prospect. Remember, Prospects will only ever interact with the Data Form Wizard. The Single-Page Preview page is for internal review purposes only.
The inputs that you have removed from the Data Form Template on the Configure page – those fields that you have unchecked – will not be included in the Data Form and therefore will not be seen on the Single Page Preview.
The Single-Page Preview will let you see the wording and general look of each input you’ve included in the Data Form Template.
Note: The Single-Page Preview will not account for branching logic. Meaning, you will see inputs for Current Operations of an expanding business. In this way, the Single-Page Preview may show more questions than an individual prospect will see based on the prospect’s individual responses and branching logic.
Again, prospects will not see a Single-Page version of the Data Form – prospects will only see the Data Form Wizard view.
2. Wizard Preview
To access the Wizard Preview, from the Preview Template page, click on the Preview Wizard button at the top.
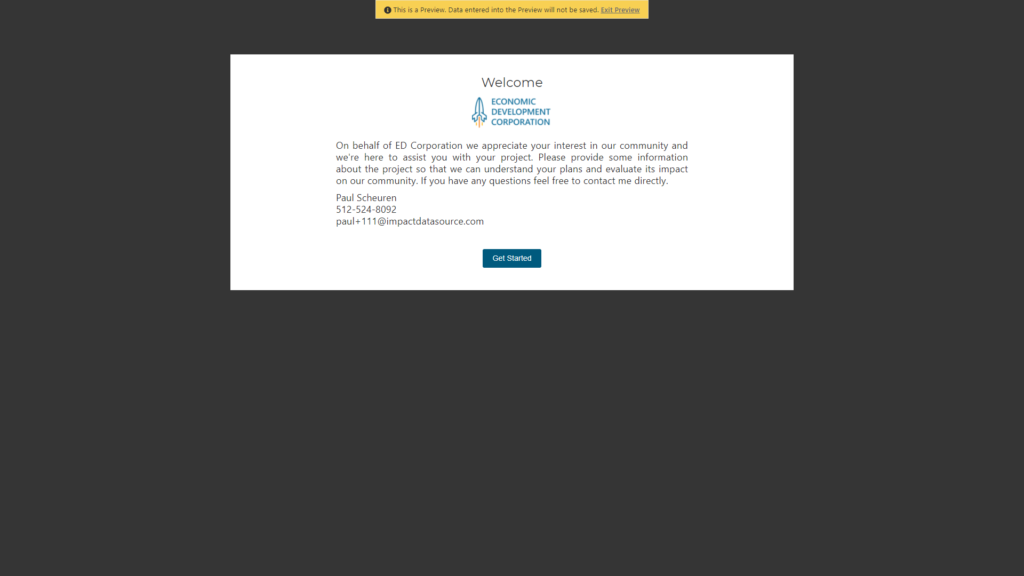
The Wizard Preview will show you exactly what the Prospect will see as they enter information. A yellow banner at the top of the page will confirm that you are viewing a Preview and the data you enter will not be saved.
In this Preview Wizard model, you don’t need to enter a name, email address, or role on the second screen of the Wizard. These fields are required when a prospect interacts with the Data Form.
Although the data you enter in the Wizard Preview mode will not be saved, the responses will be used to control branching logic. Meaning, if you indicate the project represents an EXISTING business, you’ll see inputs about the existing business’ current operations activity.
To exit the Wizard Prevew and return to Impact DashBoard, simply click Exist Preview in the yellow banner at the top of the page.