How Can We Help?
Manage Data Submissions
After you configure and share your Data Form, you can view submitted Data Forms in the Data Form Inbox.
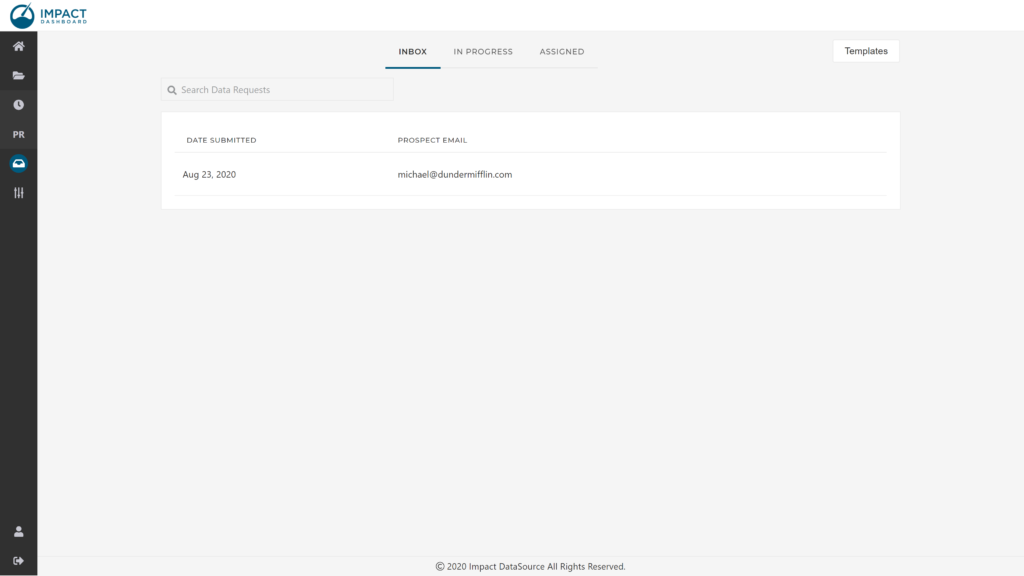
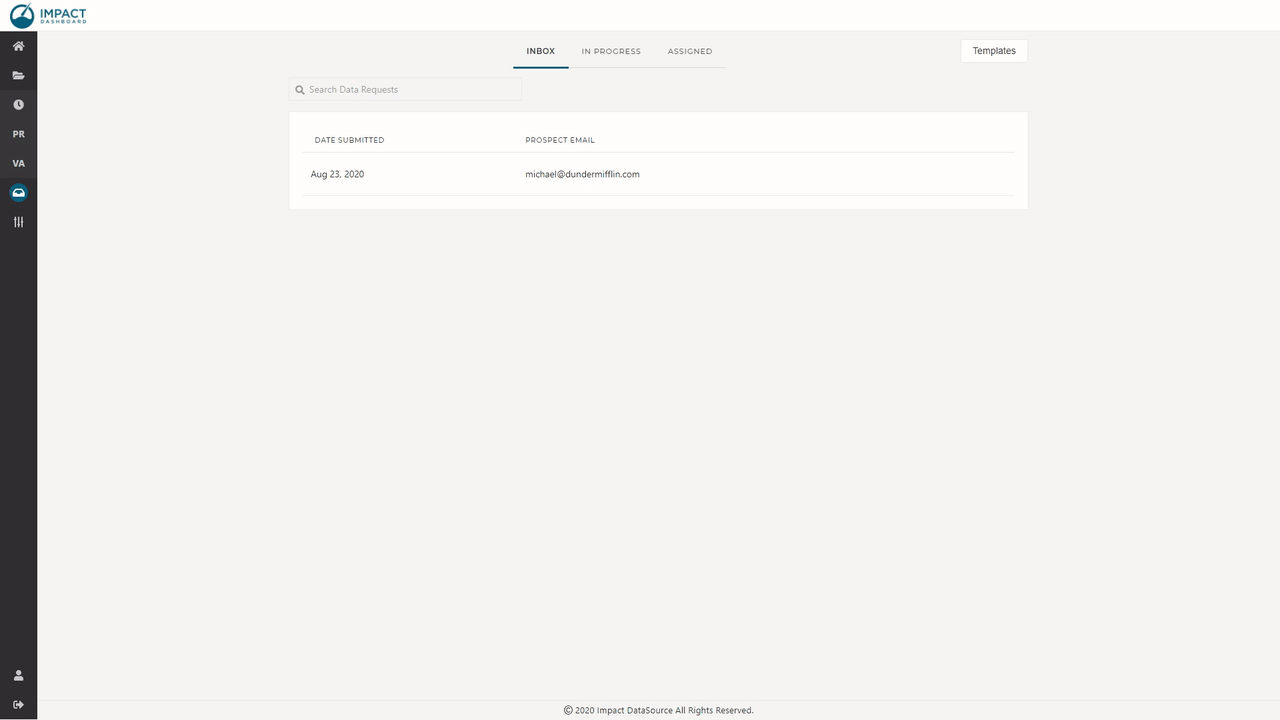
Data Form Inbox
The Inbox page of the Data Forms section shows a list of submitted Data Forms. Submitted Data Forms are identified by the date it was submitted and the email address of the individual submitting the Data Form.
You have several actions you can take with submitted Data Forms.
View a Submitted Data Form
To view the submitted Data Form, click on the row corresponding to the Data Form. This page will allow you to review the responses as well as print the page.
You cannot edit responses to a Submitted Data Form.
Assign to Project
A typical workflow in Impact DashBoard involves creating a scenario with a submitted Data Form so that you can generate a Project Fact Sheet or Impact Reports. In order to create a scenario with a submitted Data Form, you must assign the Data Form to a project.
To assign a submitted Data Form to a Project, click on Assign to Project (box arrow icon). You will have the opportunity to create a new project for the Data Form or assign the Data Form to an existing project. In the process, you will be able to indicate if you would like to create a Scenario using the Data Form.
If you choose to assign the Data Form to an existing Project, you will be presented with a modal that includes a dropdown of all existing Projects.
If you choose to create a new project for the Data Form, you will be asked to specify a name of the new Project.
Delete a Submitted Data Form
To delete a submitted Data Form, click on Delete (trash icon). You will be asked to confirm the deletion. The Data Form and all of its content will be permanently deleted and cannot be undone.