Impact DashBoard Knowledge Base
Project Control Center
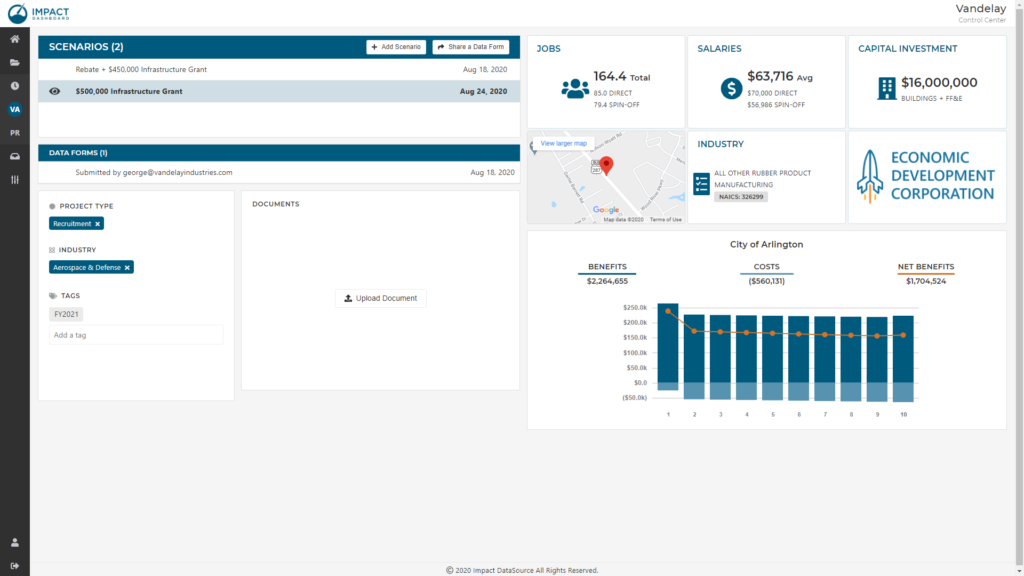
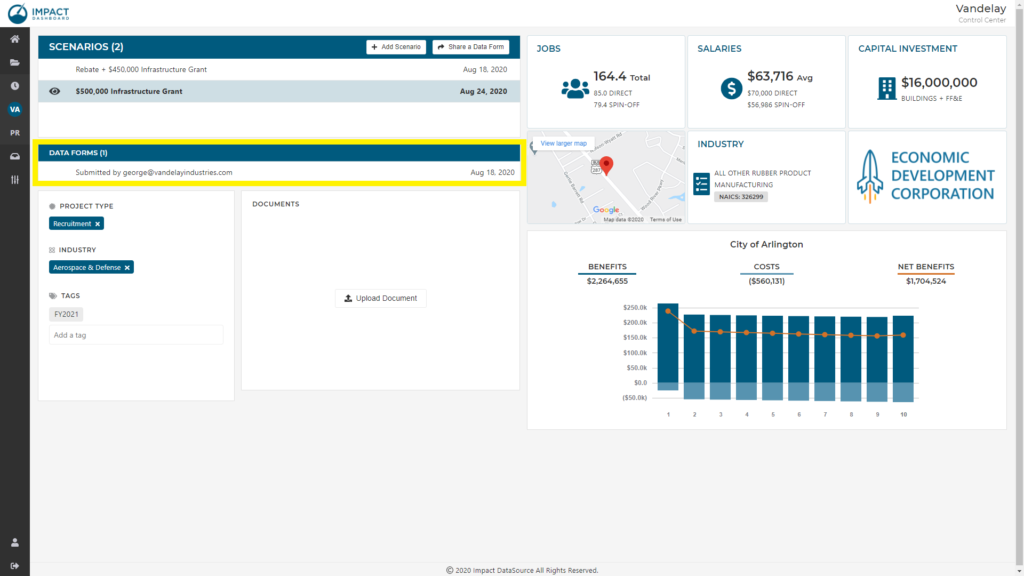
The Project Control Center includes all of the most important information about a Project in Impact DashBoard. The Project Control Center shows a list of all Scenarios, a Preview of a selected Scenario, a list of Data Forms, a place to view or apply a Project Type, Industry and general Tags, and a place to Upload Documents.
Scenarios
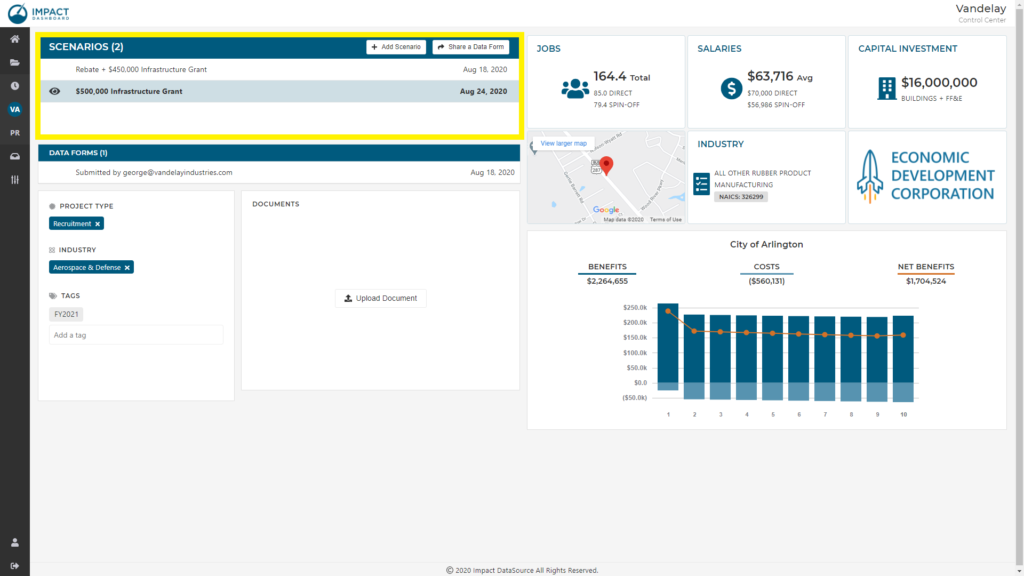
All Scenarios associated with a Project will be visible on the Scenario List (“Scenarios”) on the Project’s Control Center page.
Rename, Copy, Delete Scenarios
Scenarios can be renamed, copied, or deleted. Action icons are visible when you hover over the Scenario’s row on the Scenario List. To rename a Scenario, click on the pencil icon on the row associated with the Scenario and modify the Scenario name. To copy a Scenario, click on the copy icon on the row associated with the Scenario you wish to copy and you will be taken to a copy of that Scenario in the Scenario Workspace. To delete a Scenario, click on the trashcan icon on the row associated with the Scenario you wish to delete. You will be asked to confirm the deletion prior to permanently deleting the Scenario.
Create a New Scenario
Buttons at the top of the Scenarios table help you create new Scenarios.
- Add Scenario – Click the Add Scenario button to enter data directly into Impact DashBoard to create a new Scenario. This method will allow you to enter all relevant information to evaluate a Scenario.
- Share a Data Form – Click the Share a Data Form button to view your Templates and then share a Data Form. For more information on Data Form Templates and Sharing a Data Form, see the Data Forms section of this Knowledge Base.
Scenario Preview
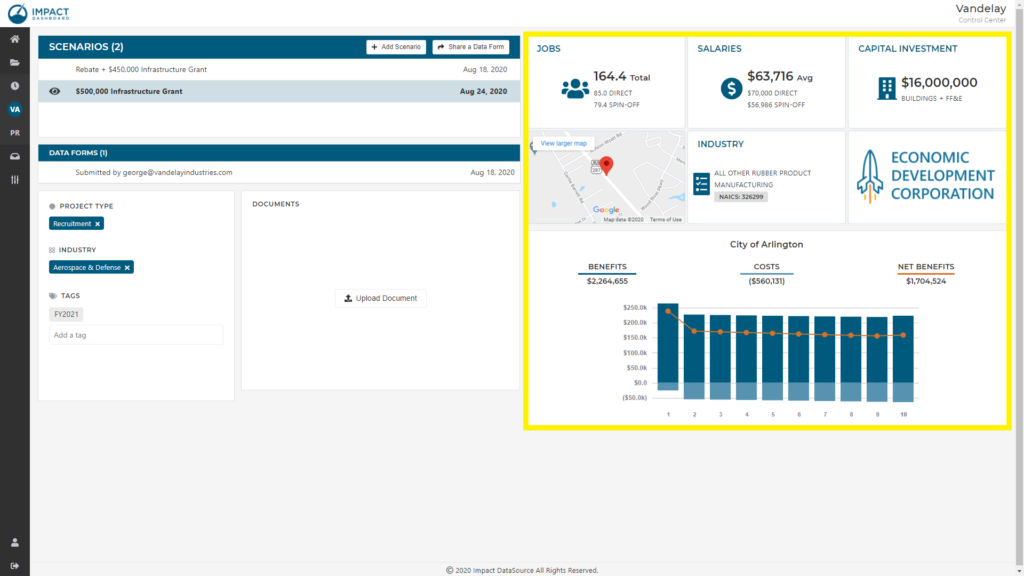
You may preview individual Scenarios listed on the Project Control Center. Click on the Preview icon to the left of the name of the Scenario to preview the results contained in the Scenario. The Scenario Preview feature allows you to quickly identify differences between Scenarios without needing to enter the Scenario Workspace.
Data Forms
All Data Forms associated with a Project will be visible on the Data Form List (“Data Forms”) on the Project’s Control Center page. You will only see the Data Form List section if the Project has at least one Data Form associated with it.
Move or Use a Data Form
Data Forms are identified by the date it as submitted and the email address of the individual who submitted it. Data Forms can be viewed by clicking on the Data Form row. You can create a Scenario with a Data Form and move a Data Form to a different Project or to the Data Form Inbox. Action icons are visible when you hover over the Data Form’s row on the Data Form List. To create a Scenario with the Data Form, click on the Create Scenario icon on the row associated with the Data Form and the inputs will be used to generate a new Scenario in the Scenario Workspace. To move a Data Form to a different Project or to the Data Form Inbox, click on the Move Data Form icon on the row associated with the Data Form.
Other Actions
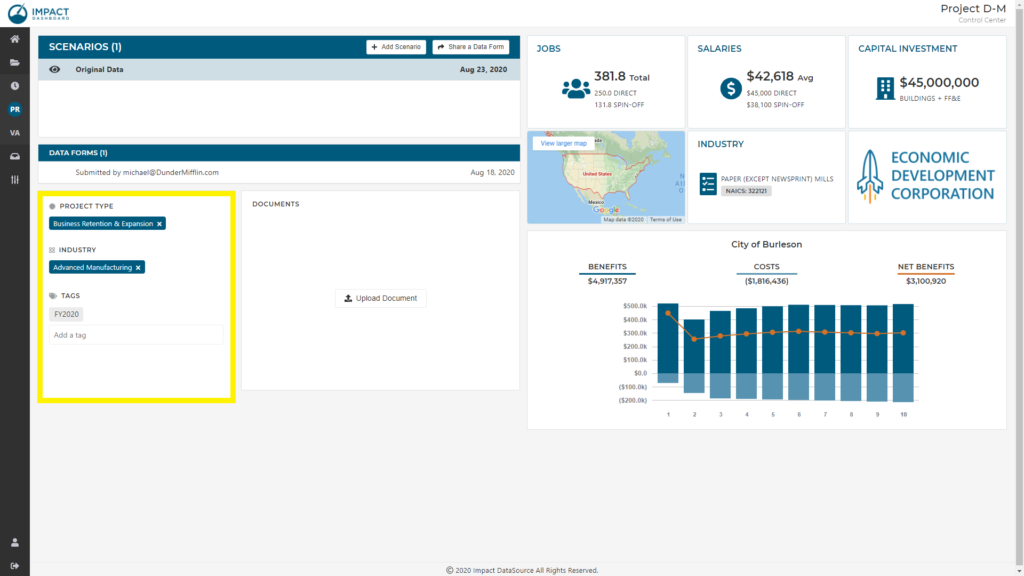
Assign a Project Type
You can assign a Project Type to help categorize and organize similar Projects. Project Types can be created and modified in the “My Account” section of Impact DashBoard on the “Customizations” page.
You can assign one Project Type per Project and the Project Type will appear on the Reports.

What is a Project Type?
Project Types are user-defined categories that can be used to reflect your organization’s internal project type terminology. For example, the default Project Types included in Impact DashBoard include:
- Business Retention & Expansion
- New/Startup
- Recruitment
Identify an Industry
You can assign an Industry to help categorize and organize similar Projects. Industries can be created and modified in the “My Account” section of Impact DashBoard on the “Customizations” page.
You can assign one Industry per Project and the Industry will appear on the Reports.
What is an Industry?
Industries are user-defined categories that can be used to reflect your organization’s target industries or key industry categories. The Industry classification is intended to match the broad sector in your terms. Examples of Industry might be:
- Advanced Manufacturing
- Aerospace and Defense
- Distribution & Logistics
- Health & Life Sciences
- Professional and Financial Services
Note, a detailed NAICS code can be identified within a Scenario. The Industry category is intended to be more general and encompass a broader Industry grouping.
Add Tags to a Project
You can create and apply Tags to Projects to help categorize and organize similar Projects. Tags can be added on the Project Control Center page by typing a new Tag or choosing from a list of previously used Tags.
You can assign multiple Tags per Project. Tags are generally internal classifications and do not appear on the Reports.

If you need to delete an errant tag – for example if the tag is a duplicate or misspelled – you can delete tags from your “My Account” section of Impact DashBoard.
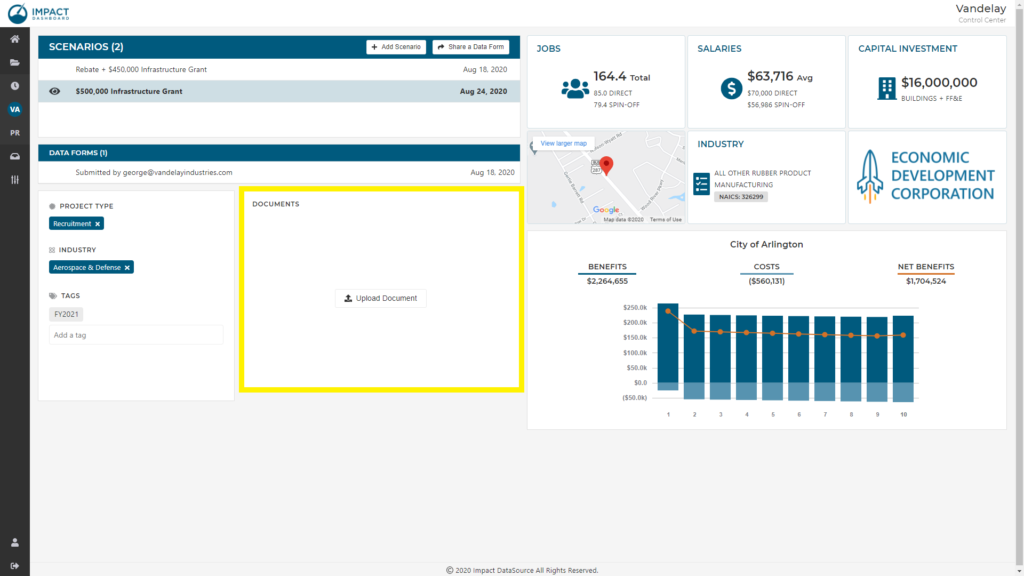
Upload Documents to Associate with a Project
You can upload documents to associate files with the Project on the Project Control Center. You may upload any type of document – PDF, Word file, Excel spreadsheet, etc. Documents may include background information on the Project, economic development agreements, or any file you would like to associate with the Project.